  |
Notice that the left image (referred to as Image 1) has nothing interesting on the far right and that the right image (Image 2) has a very boring background. A complete treatment of these two images isn't the focus here, I'm just going to use them to show you how Blender works. Note that images loaded into Blender do not need to be the same dimensions/size.)
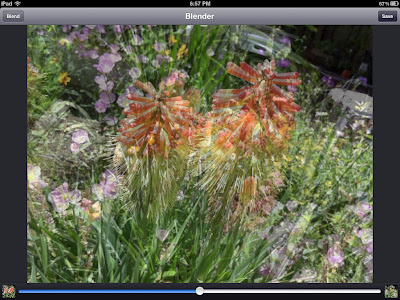
Image 1 (on the left) and Image 2 (on the right) loaded in Blender. When you first open Blender, you need to tap the small icons on the lower left and right corners to load in the two images you want to blend. The image loaded in on the left will be the fixed image and the one on the right will be the one you can move around to position exactly where you want it relative to the first image. Note also that the second image is the one that you will Erase during masking to reveal The parts of Image 1 that you wish to retain in the final blend.
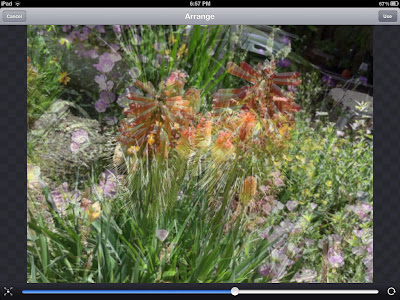
Swipe your finger across the image from right to left to get to the Arrange option. If you want to resize Image 2, tap the icon on the lower left, while in the Arrange option, to allow resizing of the second image by using two fingers to pinch or expand the image. Leave the slider on the bar across the bottom somewhere near the middle position (50 %) while arranging the images so you can see what you are doing.
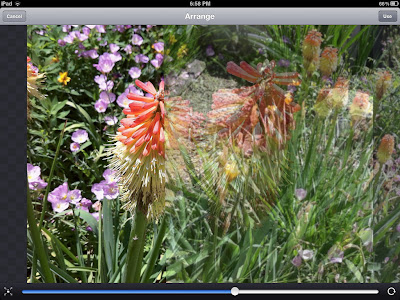
Once image 2 has been moved into the desired position, click the Use button in the upper right to accept the location of Image 2 relative to Image 1.
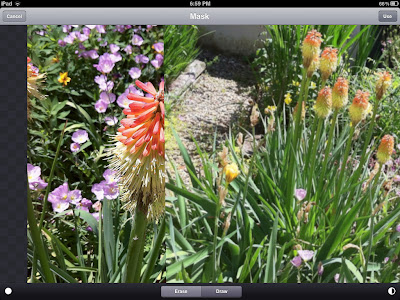
Swipe your finger across the image from left to right to get to the Mask option. Masking is used to Erase and Draw with a brush to reveal the underlying image (Image 1) or to hide portions of it. This screen shot shows the two images with the slider pushed all the way to the right to demonstrate that the second image hides the first before any masking is performed.
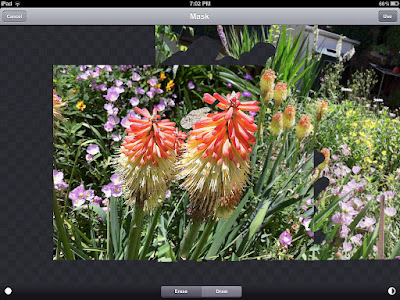
In this screen shot, masking is in progress and the combined image has been pinched to show how the two images are combined and what parts of the underlying image have been revealed by masking at this point in the editing process. The 'dot' in the lower left is used to switch between the two brushes available in Blender and the circle in the lower right allows reversing of the image layers if desired. When "Use" is selected after you are satisfied that you have masked the images as you intended, the portions of Image 2 that are outside the outside edges of Image 1 will be cropped out of the blended image.
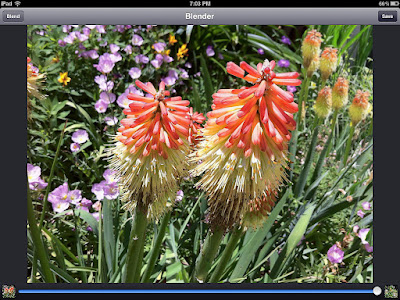
Final image after masking and blending at 100%.
If you discover that you haven't masked the images perfectly to get the image you want, you can go back into the Mask mode and do further adjustments. Return to to blog or return to blog post to continue tutorial on processing these two images.

No comments:
Post a Comment
I appreciate your comments and hope to return your visits soon. If you have any questions about apps used in tutorials, drop a comment with your question and I will either respond here (if the answer is brief) or address it in a future post if I have an answer for you. :-)