
For the total newbies, I'm including several screen shots to show you exactly what you will see onscreen when using PerfectPhoto for maybe the first time.
 PerfectPhoto screen on opening the app, choose Load photo to load an image from your iPhone/iPad. |  Image used for this tutorial after loading it. Across the top are icons for Home (screen on startup, butterfly), Save (up arrow), Undo (left arrow), Redo (right arrow), Tools (palette) and Effects (magic hat). |
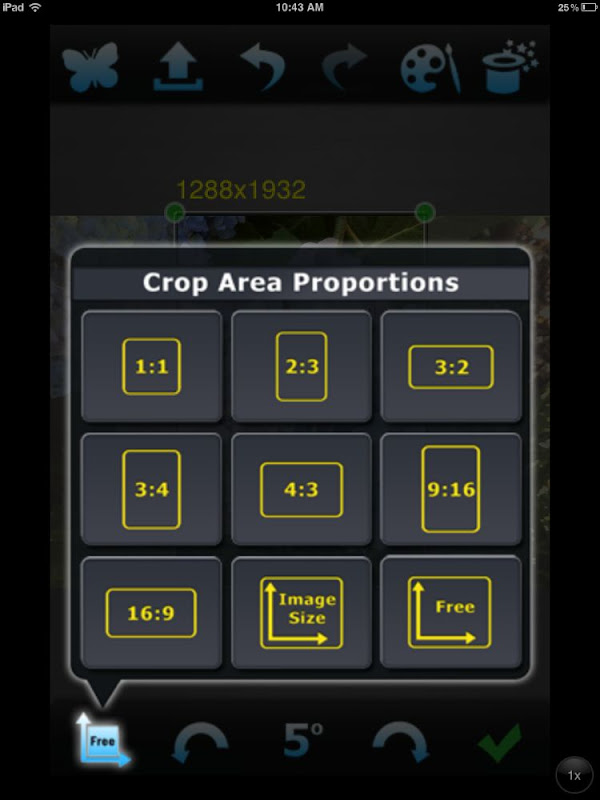 After you select the Tools/Crop option, you may also choose the type of crop (click the Free icon) before cropping your image. You may also rotate an image by 5° increments. |  Scroll down in the Tools to locate and select the Sharpen option. |
 | Screen showing Sharpen Tool before doing any adjustments. There are two sliders that one may use to adjust the degree of sharpening in the image. I have to confess that I simply do not understand what the "Radius" slider does. Even though I've played around with it after using the "Sharpen Amount" slider or instead of the "Sharpen Amount" slider, I simply cannot see what it does to the sharpness of an image. If anyone reading this can explain it to me, please leave a comment. :-) |
 Use the Sharpen Amount slider to adjust Sharpening and you will see a close view of a portion of your image showing the before (left) and after (right) image if you were to apply the selected amount of sharpening. This screen shot shows overdone sharpening. (sometimes referred to as "crispy critters" and almost always resulting in a halo around the edges of distinct boundaries) |  Experiment with the Sharpen Amount slider until you are comfortable that you have sharpened the image but not overdone it. This takes a bit of practice but eventually you will be able to judge fairly quickly when you have gone overboard with the sharpening! This is where I used Apply to sharpen my Hydrangea image. |
 |
 |
The top image is the starting point for this tutorial and was obtained by merging HDR output from the native iPhone 4 camera with TrueHDR; the bottom image is after cropping and sharpening as described here. This image is the starting point for the Hydrangea processing tutorial.
No comments:
Post a Comment
I appreciate your comments and hope to return your visits soon. If you have any questions about apps used in tutorials, drop a comment with your question and I will either respond here (if the answer is brief) or address it in a future post if I have an answer for you. :-)