
Having recently completed a four week course in iPhoneography with Teri Lou Dantzler, I am newly inspired to share some of my images from that class along with the path I took to arrive at the end result.
 |  |  |
 |  | 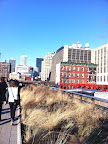 |
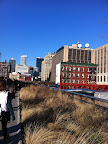
The six images above were taken with the Pro HDR app mounted on a tripod and set for a 2 second delay to avoid camera shake. The six images were loaded into AutoStitch to stitch a panorama. However, I was only interested in part of the resultant panorama so the image was taken into Filterstorm (I think), cropped and straightened to achieve the image shown below.

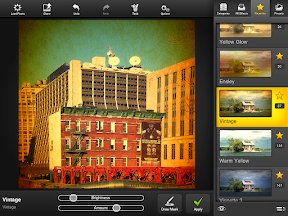
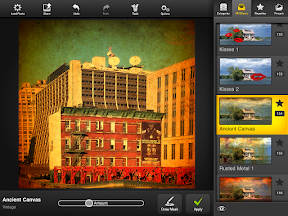
From there, the image was taken into PerfectPhoto to sharpen it and then into PhotoStudioHD to apply the Vintage effect (saved at this step as image1); then the Ancient Canvas effect was applied and the image saved again (image2). Steps shown below...
 |  |
Blender was used to blend image1 and image2 at 60% strength for image2; resultant image is image3 shown below.

 |  |
Then image3 was loaded back into PhotoStudioHD to apply Steamy Window 2 and Vignette 3 effects in that order. The image was saved at this point, then signed with Impression for version 1 shown below.

I wasn't 100% happy with the end result at this point, so I loaded the unsigned image into Iris and framed it with Iris, Dust ‘n’ Scratches Grunge Frame 2 which was applied with mask to remove speckles in the image itself and then signed this version in Impression with the result shown below.

Title: Better Energy as seen through a steamy window in Manhattan
Man alive, Victoria. That is a lot of work...but look at the result. And all with a phone!
ReplyDeleteBTW, are you able to add the URL option to comments so that I can use my Shutterchance site for comments here? Is that possible?
Nicely done... love the end result!!
ReplyDeleteThis comment has been removed by a blog administrator.
ReplyDelete